Nintendo’s Nintendo Switch console is a shrewd product launch. Japan has created an innovative gaming system suitable for use with handheld gaming consoles on your television. Furthermore, the packaging contains everything necessary to achieve that purpose. This eliminated the headache and costs involved with purchasing anything aftermarket so the player could enjoy this excellent game.
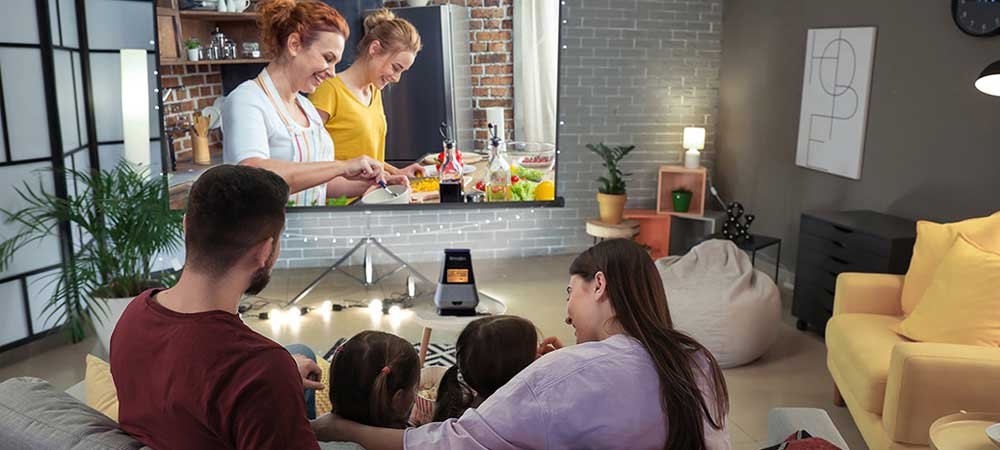
Can you play on an even larger screen?
This article explains the connection of the Nintendo Switch to the projector using 4 simple steps. If you are are set with your gaming projector, here are the steps you need to follow to connect it with your Nintendo Console.
Table of Contents
The origins of the Nintendo Switch
Nintendo previously launched the WiiU, which has proven to have wildly flopped. It was due to limited motion controls and was therefore not suitable for all sorts of games. A further disadvantage is that it was marketed at a higher cost than its predecessor.
After the successful launch of Nintendo Wii, which was one of the best-selling handheld consoles belonging to its 7th Generation, Microsoft Xbox 360 and Sony PlayStation 3 are the other ones that also drew the attention of avid gamers.
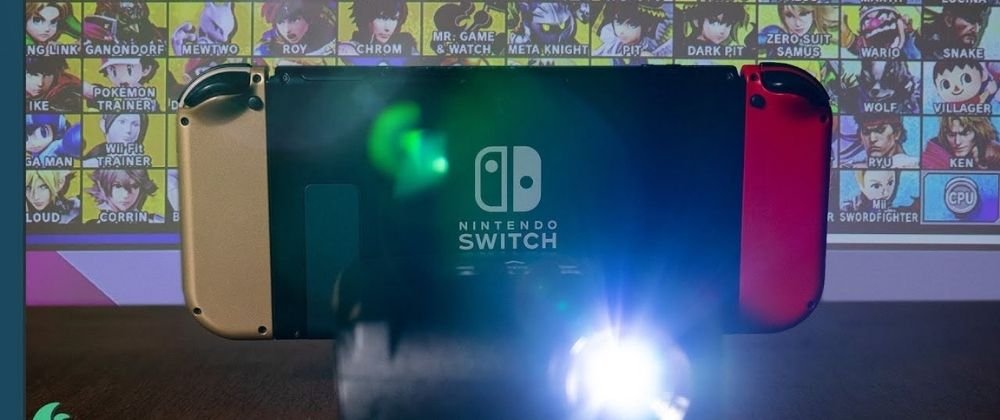
If you are a proud owner of a Nintendo switch, how to connect a Nintendo switch to a projector is something that must be knocking on your mind. And why not? Playing on a big screen has its charm. So, say goodbye to your conventional TV as this easy guide shares the step-by-step guide on connecting Nintendo switch docking station with your projector perfectly.
So, let’s get started:
Steps to hook up Nintendo switch to the projector’s HDMI Ports
The Nintendo Switch and Nintendo Mini can be easily connected to your Laptop, Monitor or projector using the steps suggested below. Nintendo Wii-U is also available with an HDMI port for a quick display connection. Hence you can easily use these steps to all the Nintendo Switch Family :
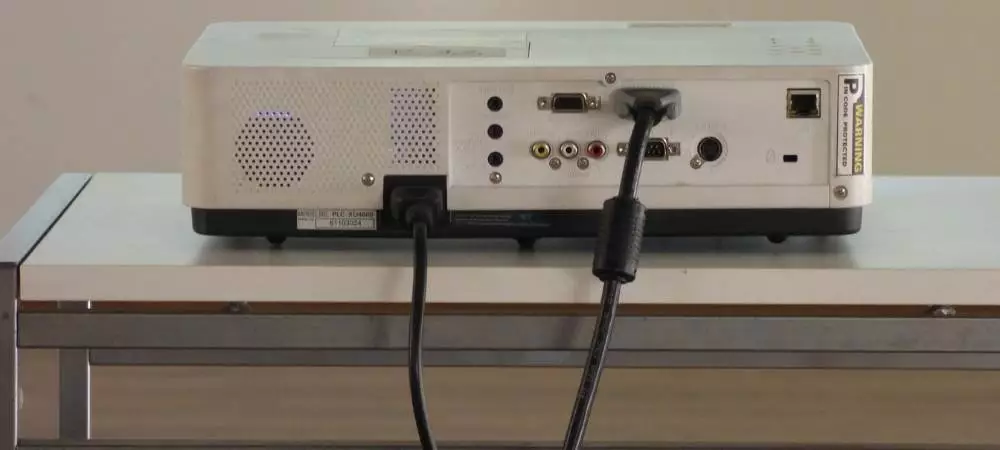
1. Connect the HDMI cable and AC adapter at the back of the Nintendo Switch Dock
Remove the back cover at Dock and connect the wall adapter with first port. Use the 3rd port of the dock to connect the HDMI cable. For celining mount, you will require a long HDMI cable
2. Connect the Nintendo Switch console with Joy-Con controllers to pair them at first
The console cannot recognize the controllers unless they are paired. Pair the controllers to your Ninetendo Switch console and connect the joy-con grip to them. To get a seamless experience, make sure that the joy-con controllers are charged enough.
3. Now remove the controllers and attach them to the Joy-con grip.
Once connected, now remove the joy-con controllers by pressing the black bottom at the joy-con controller back. By now, these joy-cons are paired with console.
4. Inset the Nintendo Switch Console in the Dock. The Dock’s front panel should face the LCD screen.
Connect another end of HDMI cable with the projector’s HDMI port. For vintage projectors without HDMI port, you can use HDMI adapter. You need to connect the HDMI female to VGA male adapter. Now connect the Projector with Nintendo switch using HDMI cable
5. Turn on both projector and Nintendo switch
Once you turn on the Nintendo Switch dock and projector, select the HDMI source. If there is more than one HDMI input, then you need to be cautious about choosing the right HDMI source. To find the correct input source, press the ‘input source’ via remote control or a button on your projector.
Connecting Nintendo Switch with a Projector without HDMI
You can use an adapter or converter for conventional projectors that come with a VGA connection to accomplish the task. The Switch comes with 1080p HD full resolution and an HDMI adaptor that can easily connect with your vintage projector or monitor to connect it through.
- Once you open the box, you get a TV dock, 6.2-inch tablet, 1 Joy-con grip, HDMI Cable, Power charger, and 2 Joy-con controllers.
- Open the Back cover of the Switch Dock.
- Locate the top terminal of the device labelled with AC ADAPTER and connect the Nintendo Switch AC adapter having a USB plug.
- Now Connect this AC adapter to the power source and turn on the Switch.
- Connect one end of the HDMI cable into the bottom terminal of the dock labelled as ‘HDMI OUT’.
- Now that you have connected the HDMI cable with the HDMI output of Switch’s dock connect the other end of this cable to the desired device – HDMI projector, HDTV, and HDMI monitor.
- In the projector’s case, the screen is separate from its device. So it would help if you placed the screen as per required arrangements so that the projection can be made from the Nintendo Switch.
It is worth noting that the adapter requires USB cables while the display requires an HDMI cable.
How Should I connect My Nintendo Switch to My Projector Without a Dock?
There may be a chance that you have lost your Projector Dock. In this case you may buy the new original Nintendo Dock or may be an aftermarket Dock.
You can also connect your projector without Dock by following the steps below:
- Charge your Nintendo Switch and paint the Joy-con Controllers to it.
- Now connect the Nintendo Switch Console’s USB-C port with Switch HDMI adapter using a USB-C cable.
- Connect the adapter’s USB-C charging port with USB-C wall adapter.
- Use an HDMI cable to connect the projector and Switch HDMI adapter.
- Check the connection after selecting the appropriate HDMI source
Conclusion
The Nintendo Switch has a reputation for being popular. Nintendo Switch supports any gamer, whether they are looking for big-screen entertainment or playing on-demand. Providing mobility and connectivity options, this hybrid provides an array of possibilities. It’s very straightforward to connect Nintendo Switches to projects using HDMI Cables. Click a dock on an existing projector. An HDMI connection is insufficient, and this creates a lot of confusion. It is, however, advisable to buy an HDMI converter or adapter to fix the problem.

Hi! I am Allan Turner, writer for projectorpick.com. My love for Home theatre inspired me to pen down this blog to share my years of experience in projectors. I am a movie buff and always fascinated with the projectors in cinema halls. This inclined me to explore more about the world of projectors and pen down my observations through this blog.