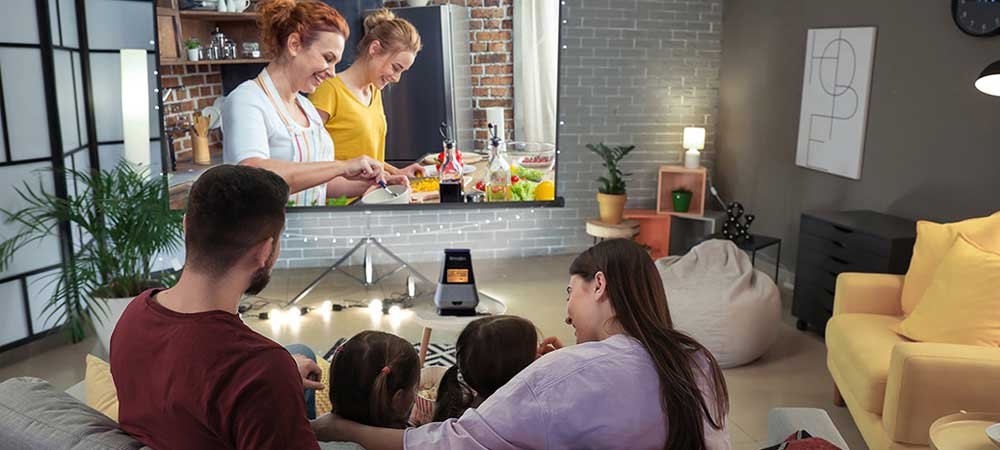
Home entertainment systems with projectors have the greatest possible ability to offer you high-quality viewing in the house. Although it may be difficult for someone to consider a home theater setup, they have to think about many things differently. You can’t simply put on an external projector and watch movies as you would a TV. It needs some preparation and planning too.
If you are looking for a home theater setup with a projector, here is the brief guide that will help you:
Table of Contents
Understanding your Space for Setup
Unlike Television, Projectors need a lot of consideration. Light is one of the factors that you need to take into account. It is essential to ensure less light pollution to get a crisp and clear projected image. As the projector gives you the flexibility to adjust your screen size, the distance between the projector and the projector screen plays a vital role.
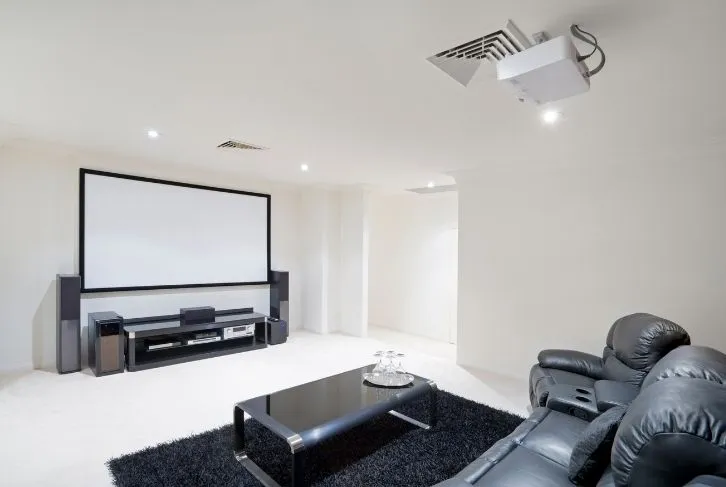
Don’t forget to plan where you’ll sit. The projector’s light beam must be able to reach the screen freely. If you want to place your sofa between the projector and screen, consider how you’ll lift the projector beam over everyone’s heads. A ceiling mount is an excellent option for such setups.
A projector’s screen size is determined by the distance between the lamp and the screen. The bigger the screen, the farther apart you should space the light from it, and with more light pollution, your picture quality will suffer. If you want a large display in a small area, consider buying a short-throw projector that may be expensive.
Look For The Correct Type of Screen

Although you can project the images onto a white wall or maybe on a white hanging sheet, you can expect the best projection quality on the specifically designed projector screen. There are also special projector screens that improve the image quality by increasing the contrast. Hence, investing in a projector screen and a good projector is worth investing in.
Exploring the Content Source
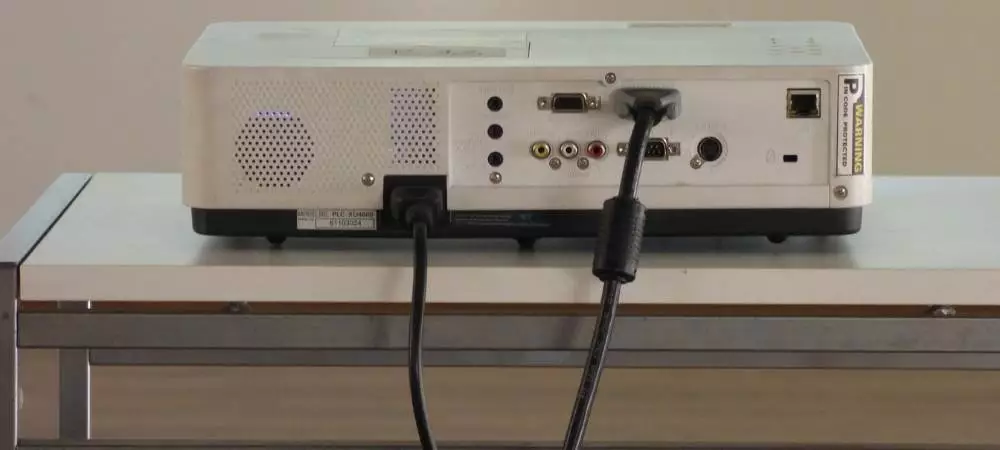
It is essential to know the content source to check the compatibility of your projector. If you mainly prefer the content from the streaming sticks, standard HDMI input, gaming console, and set-top box, you have to ensure that the projector can support these features.
Know Your Sound Options
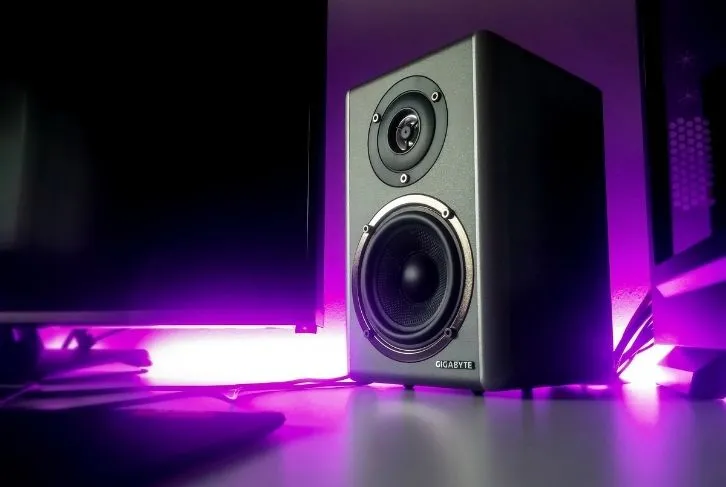
Projectors are the smaller devices that come with a bit of speaker output of 10-w. As the television speakers are powerful to accommodate the sound requirements of a medium-sized room, the projector speaker’s quality varies. Hence using external stereo speakers can help. Most of the projectors come with a 3.5mm audio port. Consider using a 2.1 surround sound system that is affordable. You may also consider a 5.2 surround sound system costing you around $300.
Budget To Buy Equipment

You need to count on everything that is required for Home theater projectors. It is best to allocate your total budget among the projector, screen, and other home theater equipment. However, the projector will be a significant expense. You may choose the budgeted projector under $500 or a high-end laser projector, depending on the features and specifications that you are looking for.
For home theater projectors, you may find a good projector for under $1000. As far as a projector screen is concerned, you can get a primary projector screen for under $100.
Combining the Home Theater Equipment

Depending on your projector’s complications, you may decide if you can install the projector with DIY hacks or if you need professional help. It would help if you had everything in place before you started mounting your projector. You need screws, cables, and other tools for installation. You may need professional assistance in case there are complex processes involved.
Always read through the projector manual to assist you with tips and tricks to ensure quick installation. For ceiling mount installation, following a particular installation order helps avoid hassles.
Projector Set up

Once you install the projector, the image alignment and adjustment come next. You aim at getting the image towards the center of your screen. Here are the essential aspects that you need to take into consideration:
Keystone Correction:
This feature ensures that you get the image sides close to a perfect rectangle. Sometimes, projector-to-screen angle results in wider or shorter images on the one side than the other. Keystone correction helps in fixing the image proportions. Most of the projector comes with vertical and horizontal keystone correction. But some come with either vertical or horizontal keystone correction.
Focus and Zoom
Once you fix the angle and shape of your image, next comes the Zoom and Focus to get a clear picture. Focus control helps provide a clear image of your desired seating position, while the zoom control fits the image to your screen correctly. In most projectors, these controls come manually. Some high-end projectors come with motorized features so that you can make the required focus and zoom adjustments using remote controls.
Lens Shift:
This feature provides the ability to move the projector lens along the vertical and horizontal planes. Some high-end projectors under $2000 come with a diagonal lens shift. To lower, raise or shift the image that can fit your screen quickly, lens shift helps as you don’t need to move the whole projector.
Picture Setting:
There are various modes to choose from for most projectors, such as Vivid, Standard, Game, Dynamic, Cinema, Sports, and computer. There are also 3D presets available for a 3D-enabled video projector.
3D Projectors can detect the 3D content automatically and shift to the 3D brightness mode to compensate for any brightness loss due to the presence of Active Shutter Glasses.
- PC picture settings are best for displaying the content or graphics from a computer.
- For the rooms with ambient light, Cinema mode is best for viewing the movie content.
- For exaggerating the contrast and color saturation, Vivid mode is recommended.
- If you want to interchangeably watch the TV and cinema mode, Standard mode is best to consider for a darkroom.
Aspect Ratio:
There are several choices as 4:3. 16:9 and 16:10, when it comes to aspect ratio. Among all, the best aspect ratio stands at 16:10 for PC monitors. For own home theater, the aspect ratio of 16:9 works best. You always have an option to change the setting if the image objects are too narrow or wide. However, for most of the content, the aspect ratio of 16:9 works fine.
Completing the Installation
Once you set up the projector and install the screen for projection, you need to check if there should not be any cable or chords hanging loose or draped across walkways. Any wiring loosened up here and there can be hazardous.
Check the Audio Settings Along With the Content Source.
It is very annoying to get into trouble when you are up with your favorite movie. It is important to cross-check the content source and the audio settings before you proceed with watching your favorite show. Test the audio quality and video projector placement by quicking playing through a game via PlayStation and watching your show on Netflix. Check all the input channels are in alignment before you finally call it a day.

Hi Guys! My name is Mark and I am editor for Projectorpick.com. My extensive experience of over 30 years in Home theatre has paved my way as a senior editor for Projectorpick.com. My vision is to empower people with the right set of knowledge in home theatres that helps with right purchases.